
Welcome!
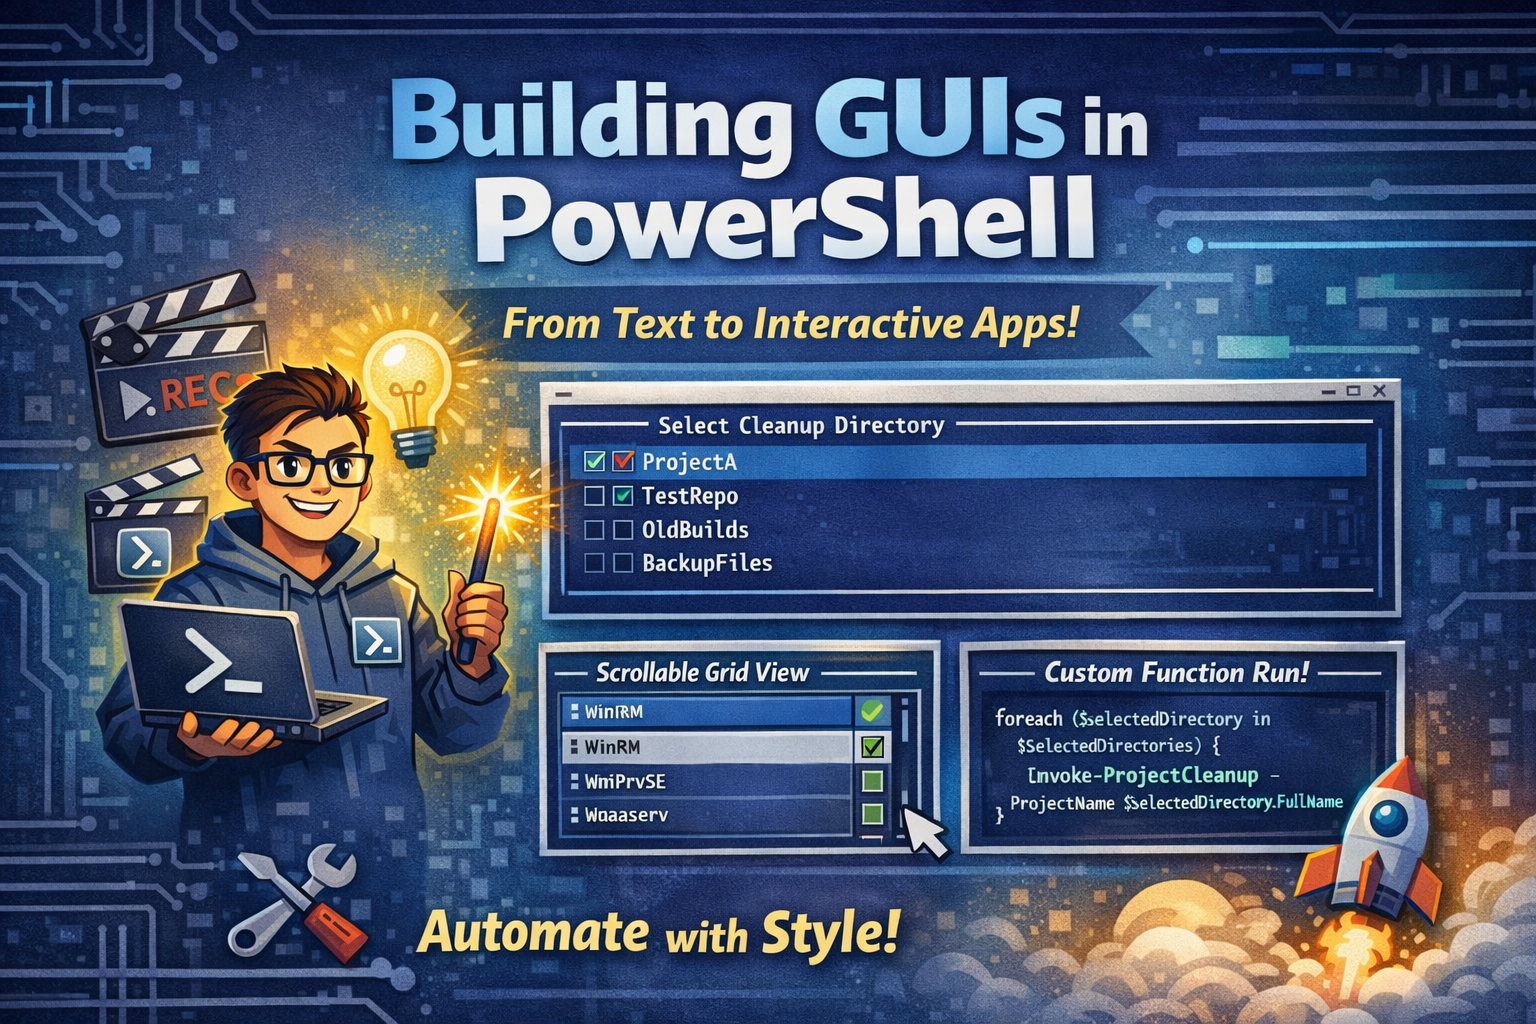
In today’s blog, I’ll be diving into bringing Actual Interfaces into your PowerShell so that you can really start to professionalize your scripts. Because, nobody wants to stare at a wall of text and type out every single parameter manually, right?
Luckily, PowerShell has some incredible modules that allow you to build full “Apps” inside the blue console.
Throughout this post, you’ll again see the 🎬 icon highlighting steps you should actively follow along with, as well as 💡 notes that provide helpful context and tips so you don’t get lost on the way.
Ready to make your life way more easier? Lets go!
Todays hero
Today’s hero is a module called ‘Microsoft.PowerShell.ConsoleGuiTools’. It is a wrapper for the powerful Terminal.Gui library and it helps you bring interactive, clickable menus into your shell. It’s all about saving you from the “Read-Host” nightmare and keeping your users happy 😉.
So, what does this bring me? By default, PowerShell interaction is linear: you ask a question, the user types an answer, and you move to the next line. Terminal.Gui is multidimensional. Instead of a boring prompt, you get:
- Visual Selection: A scrollable, searchable list of items where you can pick exactly what you need with a mouse click or arrow keys.
- Grid Views: A way to display complex data (like process lists or Azure resources) in a format that looks like a real application window.
Installing the toolkit
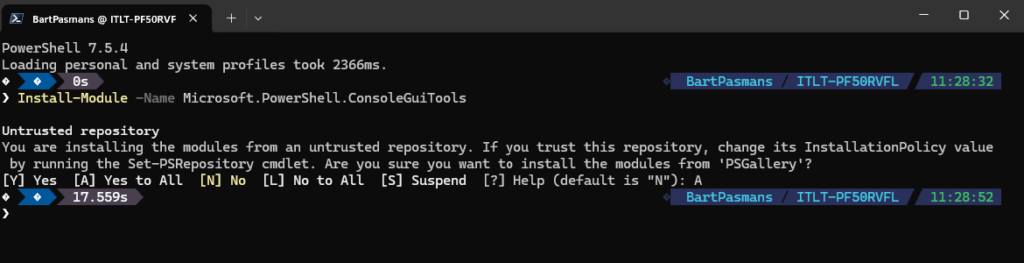
Before we can start building our UI, we need to grab the module from the PowerShell gallery.
🎬Follow the steps below to install the toolkit
- Run the command below to install the module
Install-Module -Name Microsoft.PowerShell.ConsoleGuiTools💡 Note: This module works best on PowerShell 7+. If you are still on Windows PowerShell 5.1, this is your sign from the universe to finally upgrade!
Done! You should see the result below
Lets test
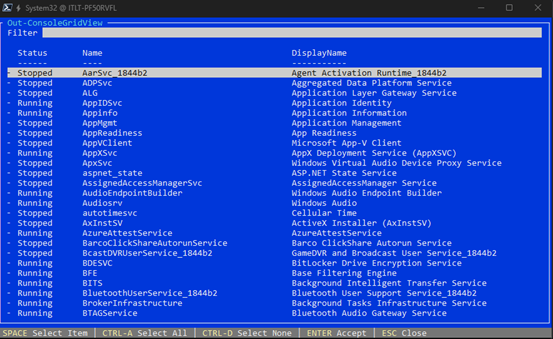
Let’s try the most famous command in this toolkit: Out-ConsoleGridView. This takes any data you have and puts it into a searchable “GUI” window right inside the terminal.
🎬Follow the steps below to test
- Run the command below
Get-Service | Out-ConsoleGridViewYou should see below
- Use your arrow keys to select a value and press spacebar
- Press enter (you can select multiple) and you should be presented with the values you selected. (something like I did below)

Cool right! But the coolest part has still to come! 🚀
Your own input!
The real “magic” happens when you connect a GUI to your own custom logic. Let’s say you’ve written a function to manage your lab environment or clean up specific project folders. You can use the UI as a “Front-end” for those functions.
For this we’ll create a very simple own function which we’ll be using for creating a UI. Yes, we could have used already built-in cmdlets, but what’s the fun in that right?
🎬 Follow the steps below to create your very own first UI in PowerShell (idea, lets create a project cleanup script, I have a lot of repo’s locally which need to be cleaned big time!)
- Define a custom function, can be something like I’ve shown below:
function Invoke-ProjectCleanup {
    param([string]$ProjectName)
    Write-Host "Cleaning up project: $ProjectName..." -ForegroundColor Cyan
}This will be the foundation of our cleaning!
- Now lets add where the repos will be to cleanup for me they are in c:\repos so lets modify the script to include that. Add the code below.
$WorkingDirectory = "C:\Repos"
$SelectedDirectories = $WorkingDirectory | Get-ChildItem -Directory | Out-ConsoleGridView -Title "Select cleanup directory"- Now run the script! You will see the output of the directory

- And select the directories which we’ll be cleaning up!

- Check the content of SelectedDirectories you should see exactly those which we’ve selected

😉 Of course i will not delete those! I still need them! But imagine the flexibility you can create with this? You can make your scripts so much more interactive with this!
- Now lets call the function we’ve created to complete everything. Add the code below to the script
foreach($selectedDirectory in $SelectedDirectories) {
    Invoke-ProjectCleanup -ProjectName $selectedDirectory.FullName
}- Run with the same values and see what happens, you should see something like below

Cool right? So the values are parsed to the function and the function takes care of all items!
Only thing limiting you now? Your imagination!
Summary
This blog introduces a whole new way to interact with your scripts using Terminal.Gui and the Microsoft.PowerShell.ConsoleGuiTools module. We’ve moved beyond simple text prompts and transformed PowerShell from a linear, reactive environment into a multidimensional workspace with clickable menus and searchable grids.
By leveraging Out-ConsoleGridView and connecting it to our own custom functions, we can build professional “Front-ends” for even the most complex tasks. Whether you’re managing massive repo folders or building an admin toolkit, providing a visual selection menu makes your scripts safer, faster, and much more intuitive for others to use.
No more tired hands or messy Read-Host prompts! Remember my motto: ‘Don’t lift a finger, unless it’s to automate’, and now you can automate with style.
Next time we’ll bring this to a even higher level! Stay tuned!