
Hi, and welcome back! Today we’ll be using the output from the previous blog post about letting AI describe what you see. If you missed out that part you can check it here:
Last time we built a PowerShell function that sends images to GPT-4o and gets structured analysis back. Error classification, diagram parsing, screenshot triage, all from the terminal. But every time I used it, the same annoying pattern played out: take a screenshot, save it somewhere, remember the path, type the command, wait for the answer, repeat. Five steps before I even get to the interesting part.
You know what I actually wanted? To just press PrintScreen and get an answer. No saving, no paths, no commands. Just: copy an image, get analysis. That’s it.
So that’s what we’re building today. A clipboard watcher that runs in the background, detects when you copy a new image, and automatically sends it to GPT-4o for analysis. It uses the Invoke-ImageQuery function from the previous blog, so if you haven’t read that one yet, go check out the previous blog first 😉 (link above)
Like always, throughout this post, you’ll see 🎬markers for action steps you can follow along with, and 📒 markers for the technical deep-dives where I explain what’s actually happening under the hood.
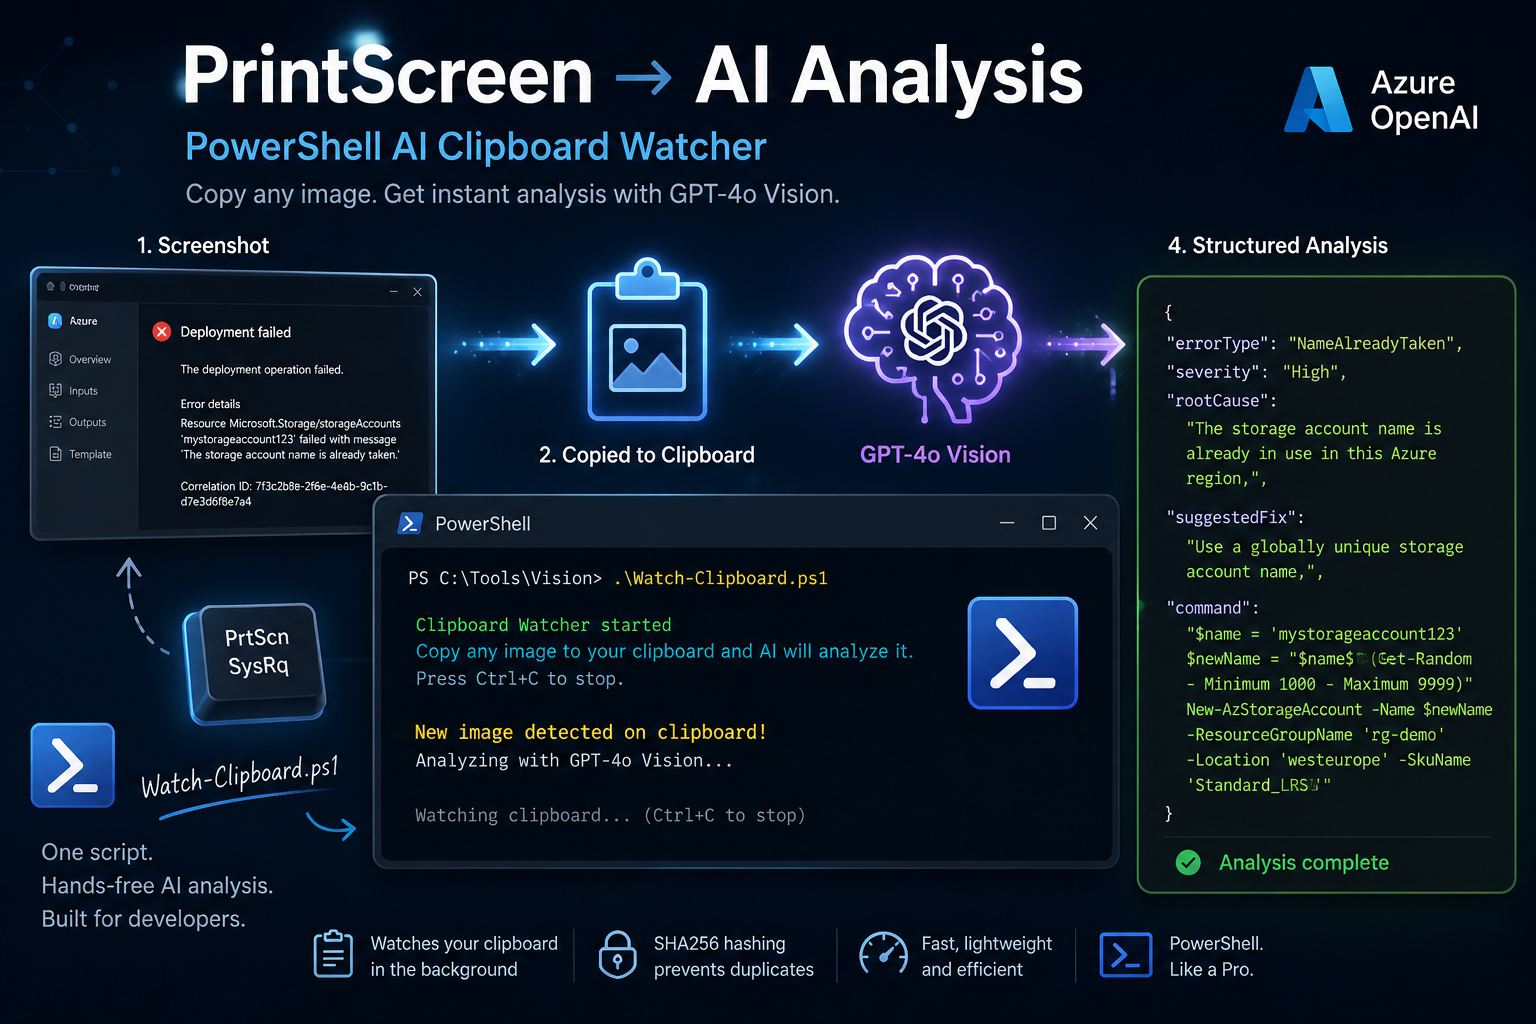
What We’re Building
A single script that watches your clipboard in a loop. The moment you copy an image, screenshot, snip, whatever it picks it up, sends it to Azure OpenAI, and prints the result. With or without structured output.
Eventually we want to do something like this:
. .\Watch-Clipboard.ps1

Watch-ClipboardWe make a screenshot, and the code picks it up, sends it to AI and we get an answer!
💡In the future we can make it even more awesome with more UI controls in place (but lets not get ahead of schedule now)
The actual script
🎬 First, make sure you have Invoke-ImageQuery.ps1 and ImageQuerySchema.ps1 from blog #57 in the same folder. The clipboard watcher dot-sources bot as both will be required for this to work.
- Now create the watcher, let’s call it ‘Watch-Clipboard.ps1’ and make sure we give it the content below
. "$PSScriptRoot\Invoke-ImageQuery.ps1"
. "$PSScriptRoot\ImageQuerySchema.ps1"
function Watch-Clipboard {
param(
[int]$IntervalSeconds = 2,
[hashtable]$Schema,
[string]$Question = "What do you see in this image? If there are errors, explain them and suggest a fix."
)
Add-Type -AssemblyName System.Windows.Forms
Add-Type -AssemblyName System.Drawing
$lastHash = ""
$tempPath = Join-Path $env:TEMP "clipboard_vision.png"
Write-Host ""
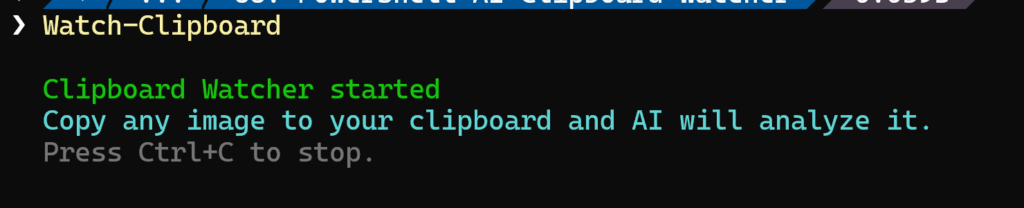
Write-Host " Clipboard Watcher started" -ForegroundColor Green
Write-Host " Copy any image to your clipboard and AI will analyze it." -ForegroundColor Cyan
Write-Host " Press Ctrl+C to stop." -ForegroundColor DarkGray
Write-Host ""
while ($true) {
try {
$img = [System.Windows.Forms.Clipboard]::GetImage()
if ($img) {
$ms = New-Object System.IO.MemoryStream
$img.Save($ms, [System.Drawing.Imaging.ImageFormat]::Png)
$bytes = $ms.ToArray()
$ms.Dispose()
$hash = [BitConverter]::ToString(
[System.Security.Cryptography.SHA256]::Create().ComputeHash($bytes)
)
if ($hash -ne $lastHash) {
$lastHash = $hash
$img.Save($tempPath, [System.Drawing.Imaging.ImageFormat]::Png)
$img.Dispose()
Write-Host " New image detected on clipboard!" -ForegroundColor Yellow
if ($Schema) {
$result = Invoke-ImageQuery -ImagePath $tempPath -Question $Question -Schema $Schema
$result | Format-List
}
else {
$result = Invoke-ImageQuery -ImagePath $tempPath -Question $Question
Write-Host ""
Write-Host " AI says:" -ForegroundColor Green
Write-Host " $result" -ForegroundColor White
}
Write-Host ""
Write-Host " Watching clipboard... (Ctrl+C to stop)" -ForegroundColor DarkGray
}
else {
$img.Dispose()
}
}
}
catch {
}
Start-Sleep -Seconds $IntervalSeconds
}
}📒 Let me walk through what’s going on here.
Add-Type -AssemblyName System.Windows.Forms loads the Windows Forms assembly so we can access [System.Windows.Forms.Clipboard]::GetImage(). This is a .NET method that returns a System.Drawing.Image object if the clipboard contains an image, or $null if it doesn’t. We also load System.Drawing because we need it to save the image to a file.
The temp file. We can’t send a clipboard image directly to Azure OpenAI, the API wants a file path or base64. So we save the clipboard image to a temp PNG ($env:TEMP\clipboard_vision.png), then pass that path to Invoke-ImageQuery. The temp file gets overwritten every time, so it doesn’t pile up. One file, always the latest image.
SHA256 for deduplication. We convert the image to a MemoryStream, extract the raw bytes, and hash them. [BitConverter]::ToString() gives us a readable hex string like “AB-CD-EF-…”. If this hash matches $lastHash, we skip. If it’s different, we update $lastHash and analyze. Simple and reliable.
Dispose, dispose, dispose. .NET image objects hold onto memory and file handles. If you don’t dispose them, you get memory leaks (trust me, been there done that, u don’t want to be in there 😆), and in a loop that runs indefinitely, that matters. Every $img, $ms, and graphics object gets disposed as soon as we’re done with it.
Practical Usage
🎬 Start the watcher in free-text mode:
. .\Watch-Clipboard.ps1

Watch-ClipboardYou should be presented with the clipboard watcher:
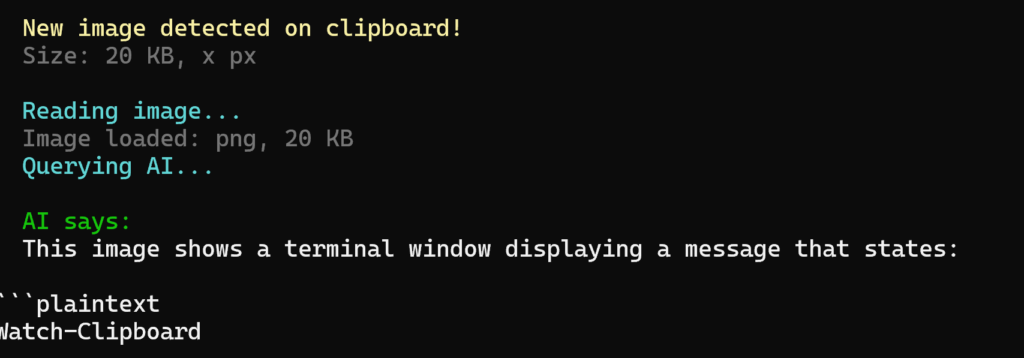
Oh! Sneak preview; as I’m writing this blog I’m making the screenshots and I allready see the watcher triggered and the AI picking it up: 😆
🎬 Lets try this error message (found on google) and used the last time as well
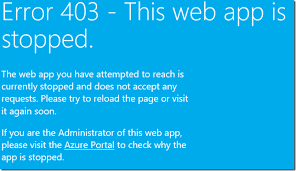
And see how the AI responds:
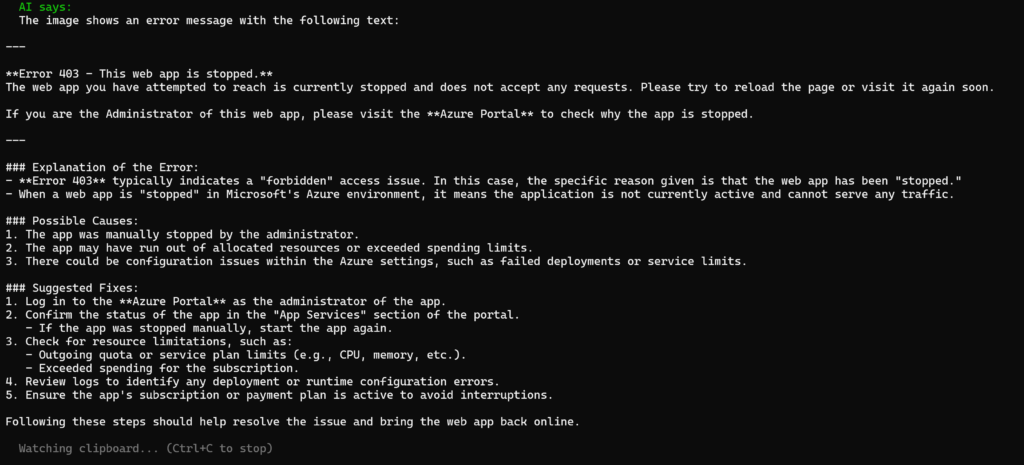
😉Even while screenshotting that the AI was capable on providing the exact same fix.
Tips and Gotchas
It only works with images. Copying text to the clipboard does nothing, the watcher checks specifically for Clipboard::GetImage() and ignores everything else. So your normal copy-paste workflow isn’t affected.
Windows only. The System.Windows.Forms.Clipboard class is a Windows-specific API. If you’re on macOS or Linux, this script won’t work. You’d need a different approach. For now, this is a Windows thing.
Ctrl+C to stop. The watcher runs until you press Ctrl+C. There’s no timeout or auto-stop. If you walk away and leave it running, it’ll keep polling the clipboard every 2 seconds but since it uses almost no resources when there’s no new image, that’s fine.
Costs stack up in long sessions. Every new image on your clipboard means a GPT-4o vision API call. If you’re doing a heavy screenshot session say 50 screenshots troubleshooting a deployment, that’s 50 API calls. It’s still cheap (less than a euro for all of that), but be aware.
Wrapping Up
One script. That’s the difference between “take screenshot, save file, open terminal, type command, wait” and just “PrintScreen, wait.”
The clipboard watcher is one of those scripts that, once you start using it, you wonder why you didn’t build it earlier. Running it in the background while troubleshooting Azure issues is a different experience. You see an error, you copy it, and before you’ve even started typing in the search bar, the terminal already has the root cause and a fix command ready.
Combined with the structured schemas from blog #57, this becomes a real tool. Not a demo, not a proof of concept something you actually leave running while you work. Error classification on autopilot.
Have fun, and on to our next adventure!
Resources
• System.Windows.Forms.Clipboard Class
And I shared everything for this project on my GitHub which you can find over here: